

Press On DIY Lashes.
In Minutes.
Made for women like me.
Busy, but still wanting to feel good.
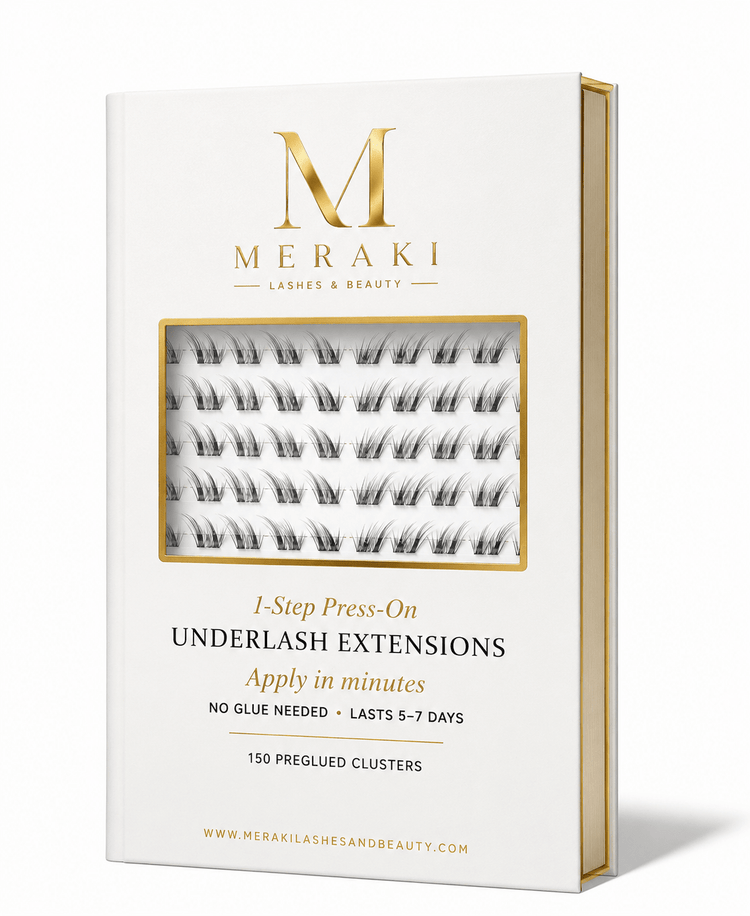
Preglued underlash clusters you can apply yourself at home. No separate lash glue. No infills. No beauty background needed. Just easy lashes that fit into real life.

Press On Lashes.
On Real People.
Applications, lash styles, tutorials and behind the scenes at Meraki.


Learn The Press On Method.
Pre-glued and ready to go. Keep the adhesive clean, hold at the tip, apply underneath, overlap slightly and fuse with your fingers.
Kits + Tray Only.
Starter, Deluxe, Ultimate, All 4 Styles or lashes only. Choose the amount that suits you and go.
 Up to 15 Full Sets
$7.93 PER SET
Up to 15 Full Sets
$7.93 PER SET
 Up to 30 Full Sets
$5.30 PER SET
Up to 30 Full Sets
$5.30 PER SET
 Up to 45 Full Sets
$4.20 PER SET
Up to 45 Full Sets
$4.20 PER SET
 Up to 60 Full Sets
LOWEST COST PER SET
Up to 60 Full Sets
LOWEST COST PER SET
 Up to 15 Full Sets$5.93 PER SET
Shop The Extras.
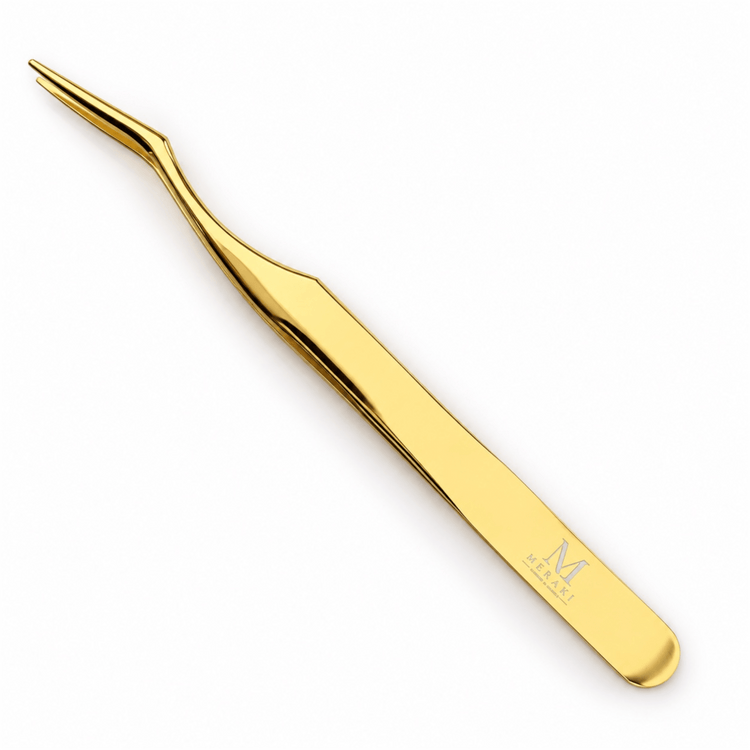
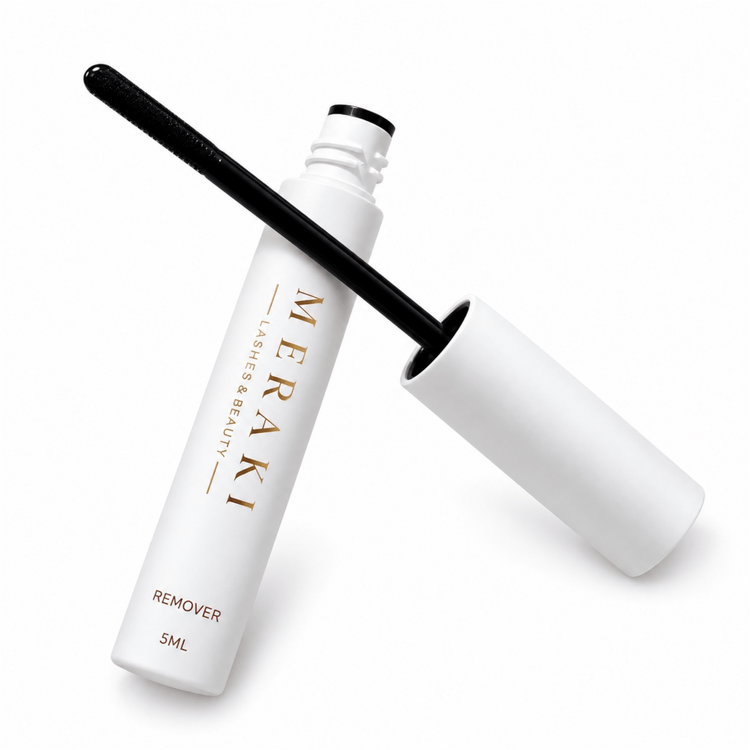
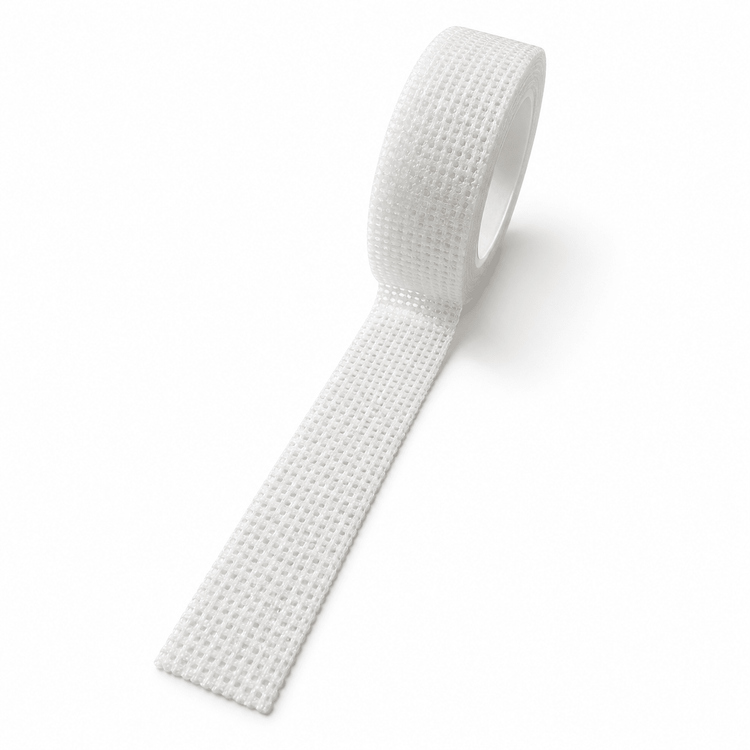
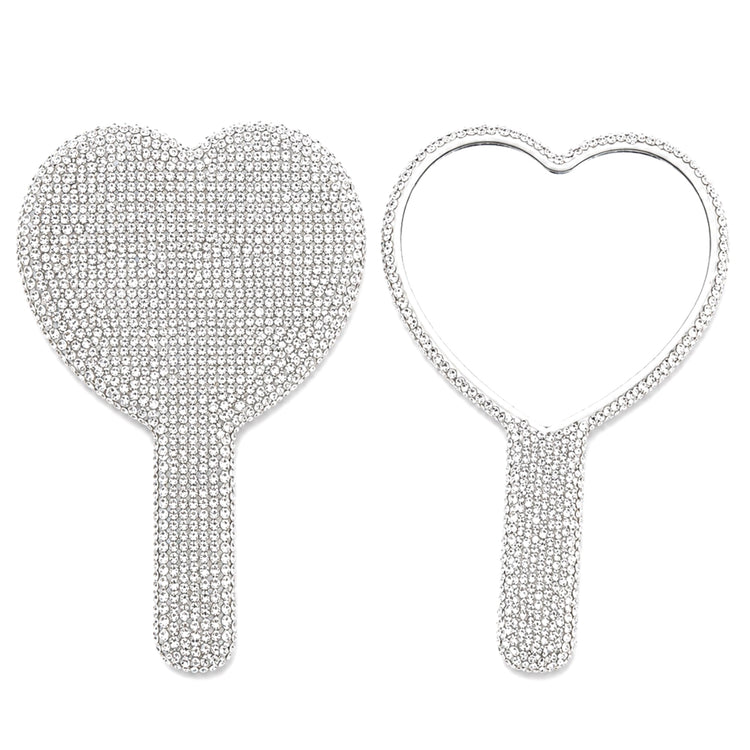
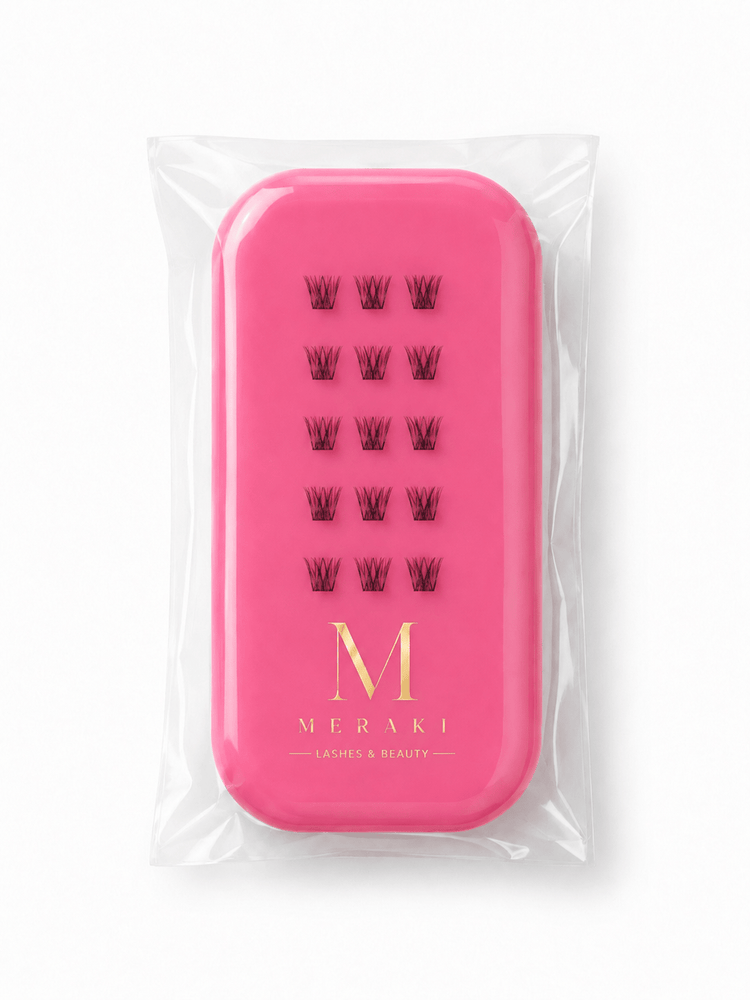
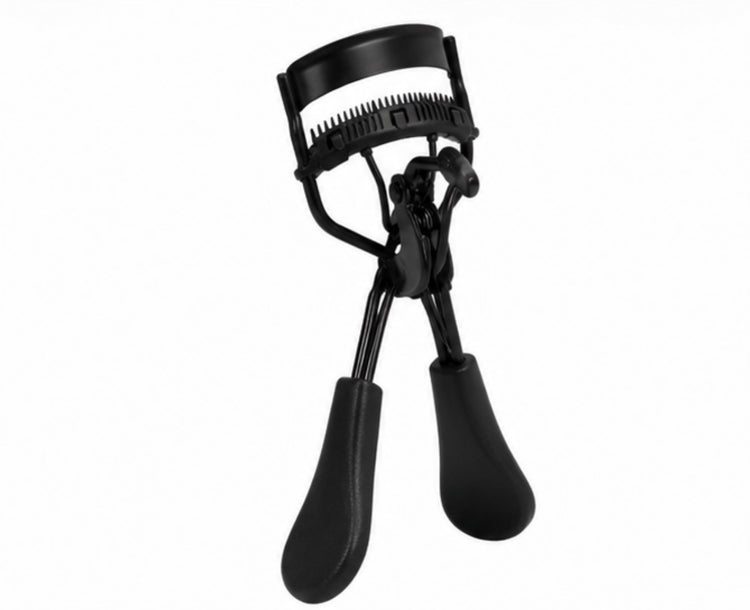
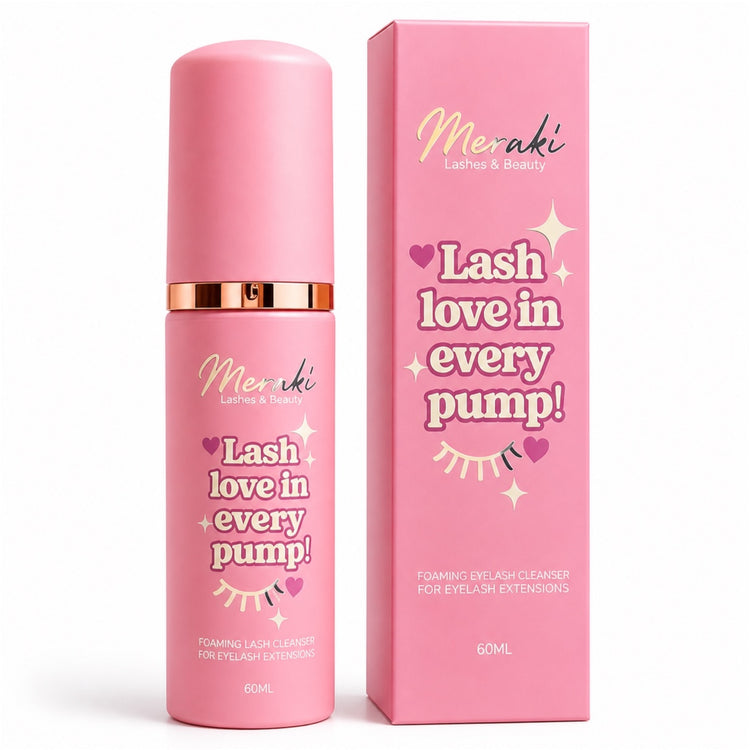
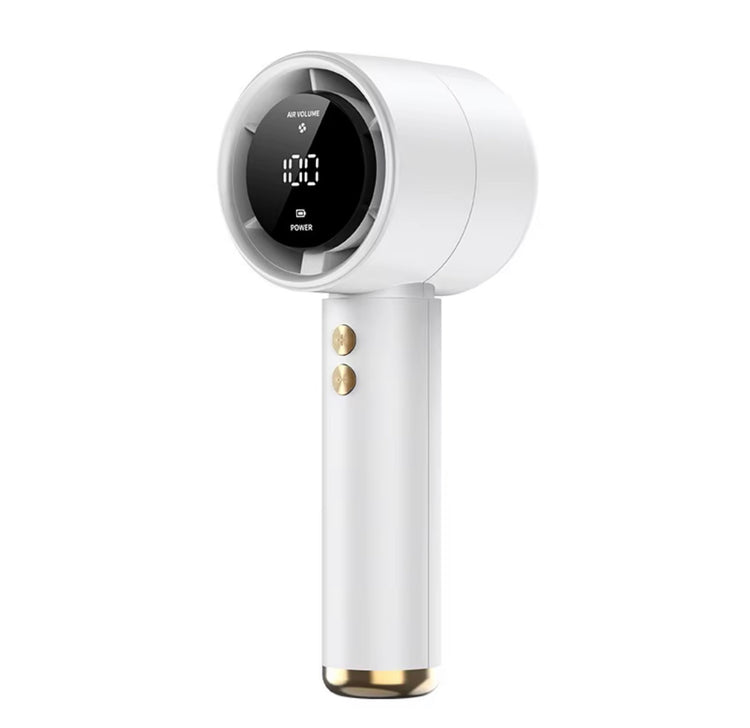
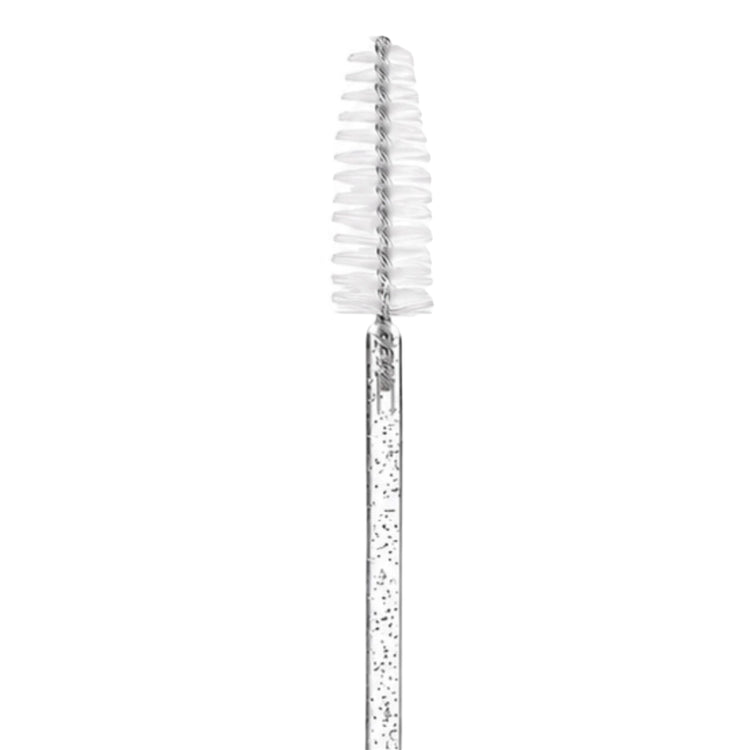
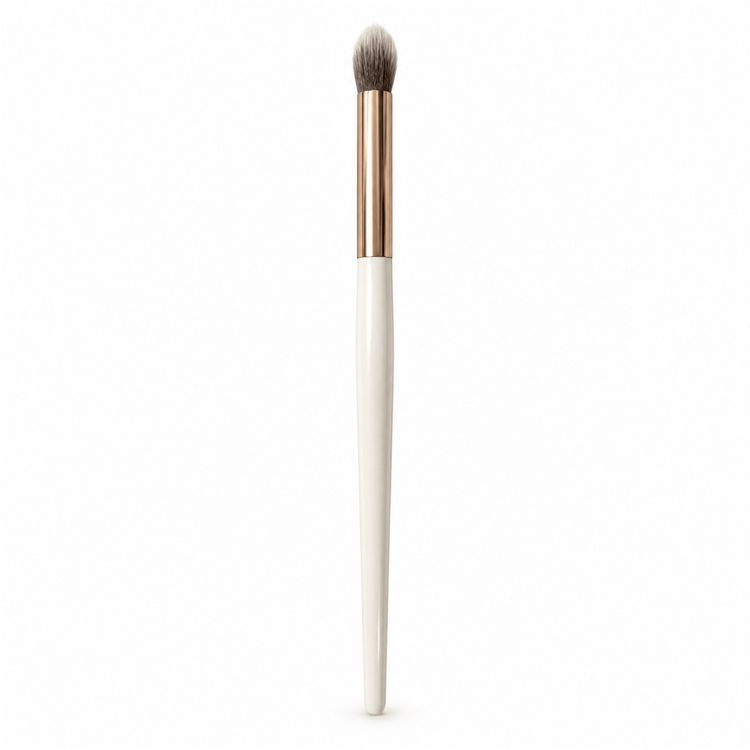
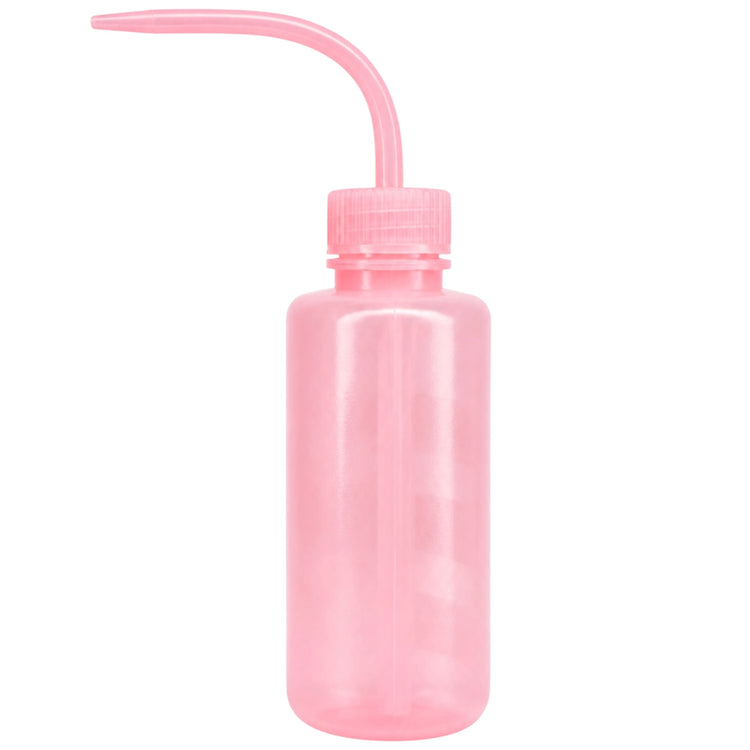
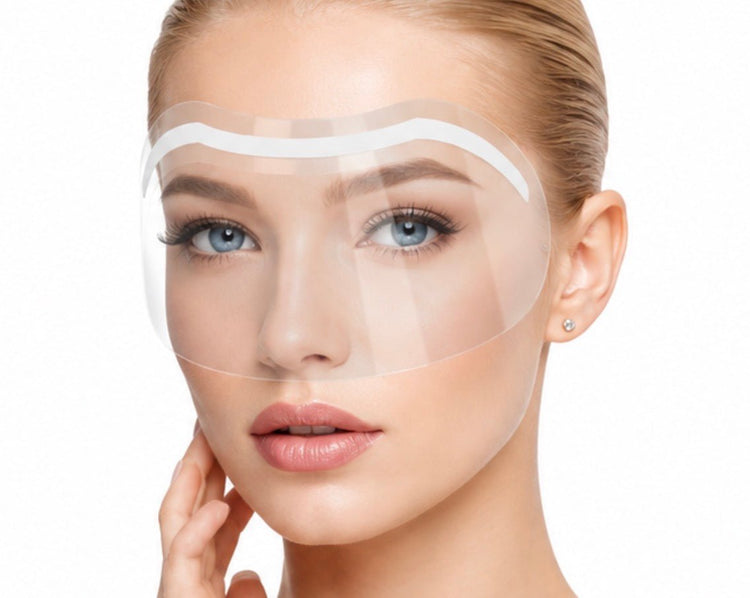
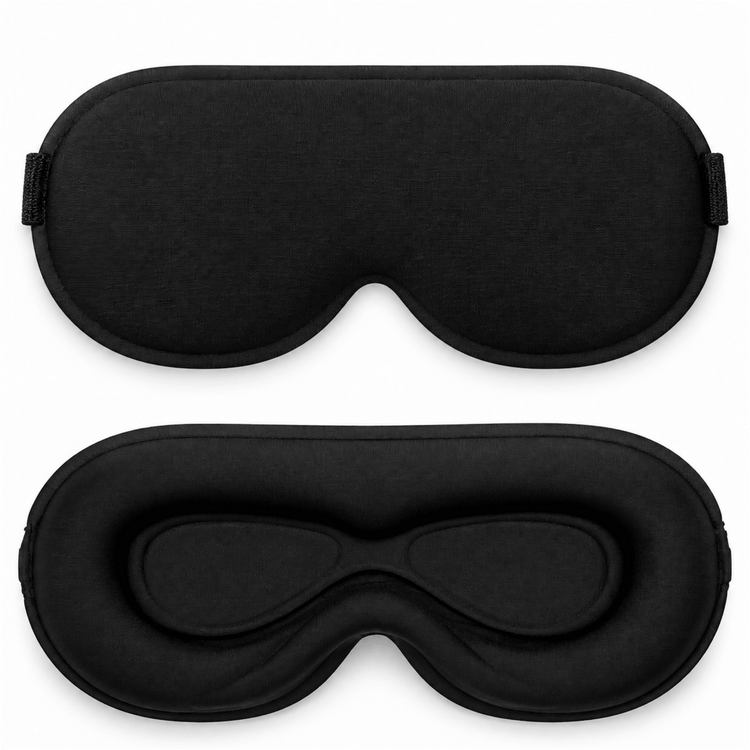
Shop individual Press On essentials plus our full DIY aftercare collection. Remover, applicators, cleansing, shower protection, sleep accessories and all the little extras that make DIY easier.
Peel. Place. Press.
The adhesive is already on the lash. Keep the pre-glued strip clean, apply underneath your natural lashes and use a medium finger press.
Remove the protective cover and keep fingers and tools away from the pre-glued base.
Apply underneath clean natural lashes and slightly overlap each segment as you go.
Use two clean fingers and a medium press. Secure, not squashed. No tweezer clamping.

Made By A Lash Artist.
Made For Real Life.
I’ve worked in lashes for more than 15 years, so I know exactly how good a fresh set can make you feel. I’m also a busy mum, and I know the time and the cost of keeping appointments can add up fast.
That’s why I love DIY. I can do my lashes at home when it suits me, spend less, wake up feeling put together and still get on with normal life. I wanted Press On to feel simple enough that even if you have never touched a lash cluster before, you can look at it and think, yep, I can do that.
And you can. I’ll show you.
Press On Questions.
Do I need lash glue with Press On lashes?+
Where do Press On lash clusters go?+
How hard should I press them?+
Should I clamp them with tweezers?+
Can I reuse Press On clusters?+
What should I buy for my first order?+
Can I choose different lash styles?+
How do I remove Press On lashes?+
I'm a complete beginner. Can I really do this?+
Preglued Lashes Made Simple.
Meraki Press On DIY lashes are preglued underlash clusters designed in Australia for easy at home application. Choose a complete Press On lash kit if you are starting from scratch, or restock with a tray only when you already have your applicator and remover. I created the range to make salon look lashes more flexible, more affordable and genuinely approachable for beginners.
New to DIY lashes? Start with our full Press On application guide, choose your favourite lash style and take your time with your first set. You can also explore all Meraki DIY lashes or compare our complete DIY lash kits.
Feel Like You.
For Less.
Choose your kit. Pick the style you love. I’ll show you exactly what to do.
Shop Press On DIY Lashes