

Longer Wear.
More Control.
DIY lash extensions with longer wear and more control. Shake your Bond well, use a thin layer, allow approximately 30–60 seconds for it to become tacky, then apply underneath your natural lashes, Seal and fuse.

See The Lash Obsession.
Applications, tutorials, lash styles + behind the scenes.


Learn The Meraki Method.
Watch my full step-by-step application before your first set. I’ll show you how much Bond to use, when it’s ready, how to place your clusters and how to properly Seal + fuse them.
Bond + Seal Kits + Refills.
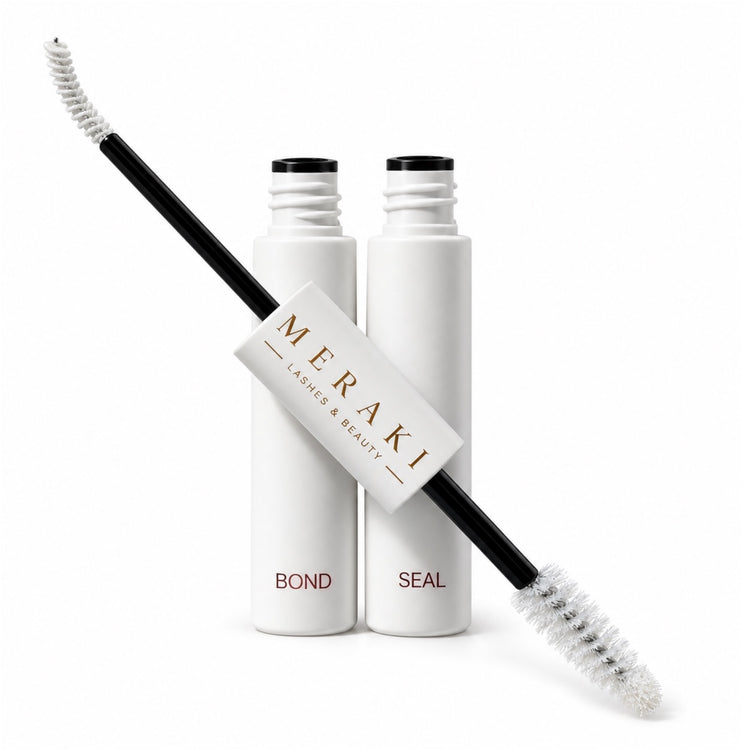
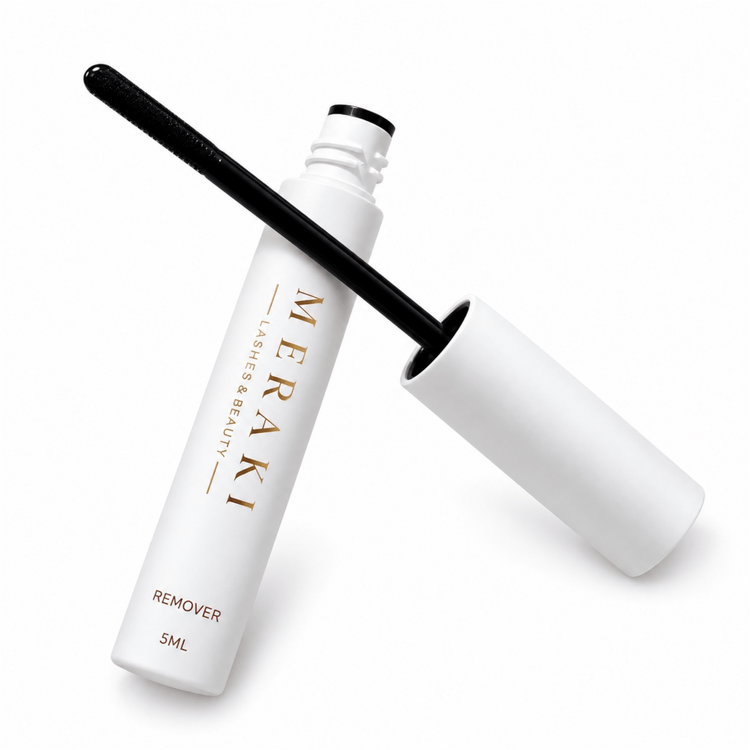
Complete kits include your lash clusters, Bond, Seal, Remover and applicator. Choose 1, 2 or 3 trays, or restock with Tray Only.
 Up To 15 Full Sets
$7.93 PER SET
Up To 15 Full Sets
$7.93 PER SET
 Up To 30 Full Sets
$5.30 PER SET
Up To 30 Full Sets
$5.30 PER SET
 Up To 45 Full Sets
$4.20 PER SET
Up To 45 Full Sets
$4.20 PER SET
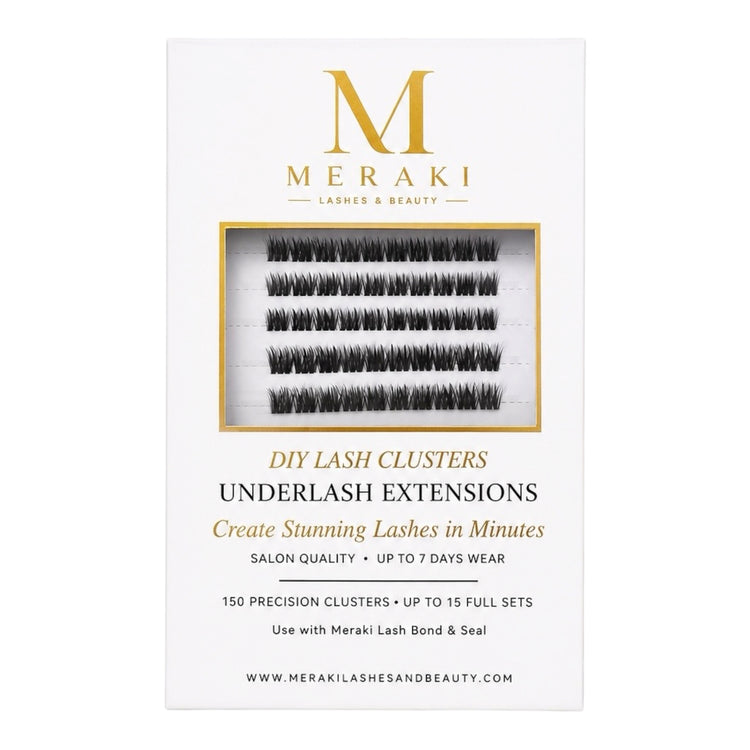 Up To 15 Full Sets
$5.93 PER SET
Up To 15 Full Sets
$5.93 PER SET
Build It Your Way. Refill Anything.
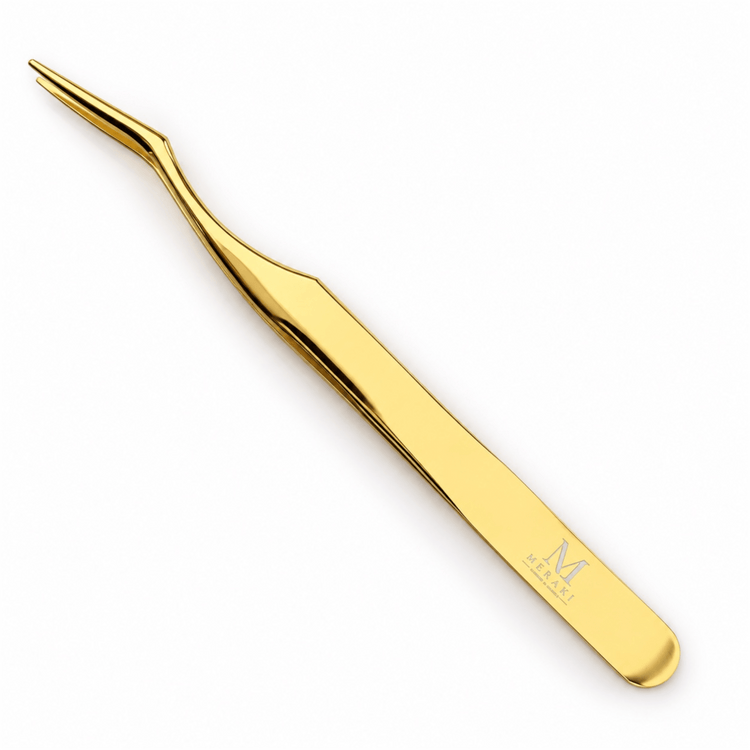
See the value inside your Meraki DIY setup, replace the pieces you use most or build your own. Shop Bond, Seal, Remover, applicator tweezers, shower shields, sticky tiles, cleansing tools, lash curlers, 3D sleep masks, Bond + Seal pens and more individually.

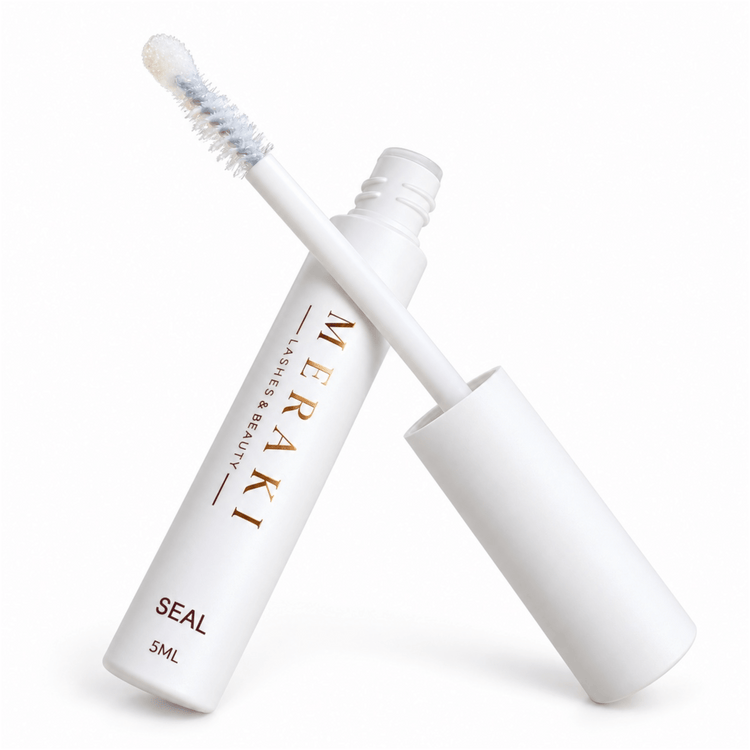
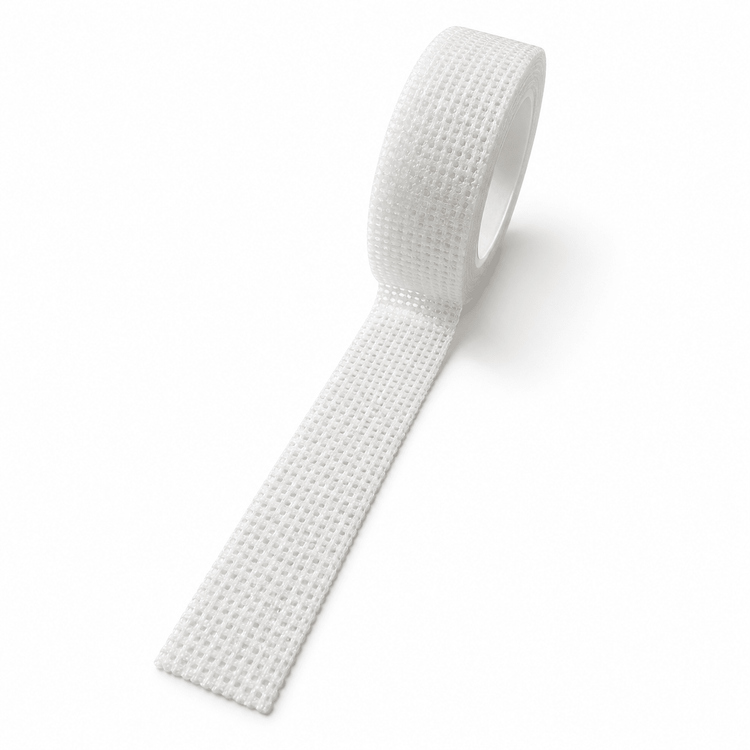
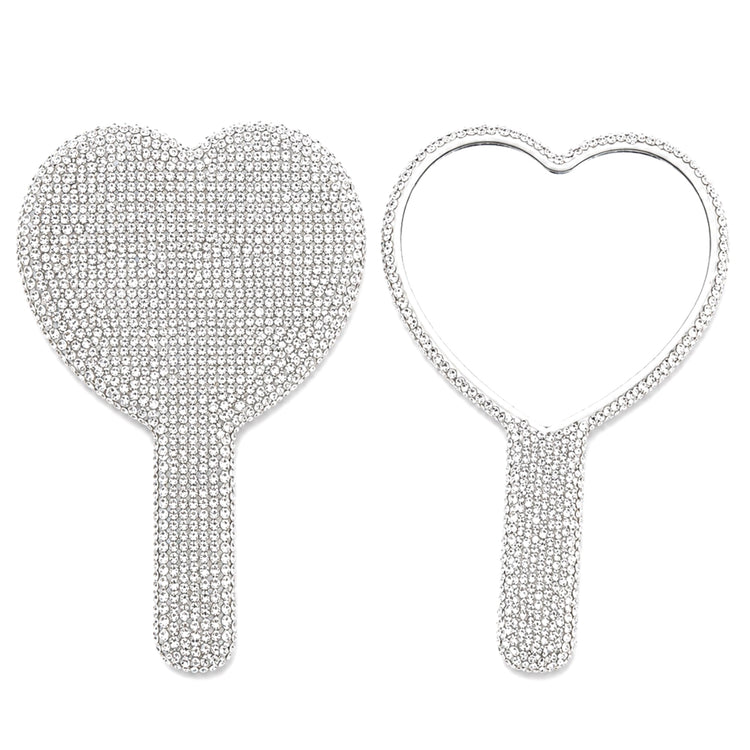
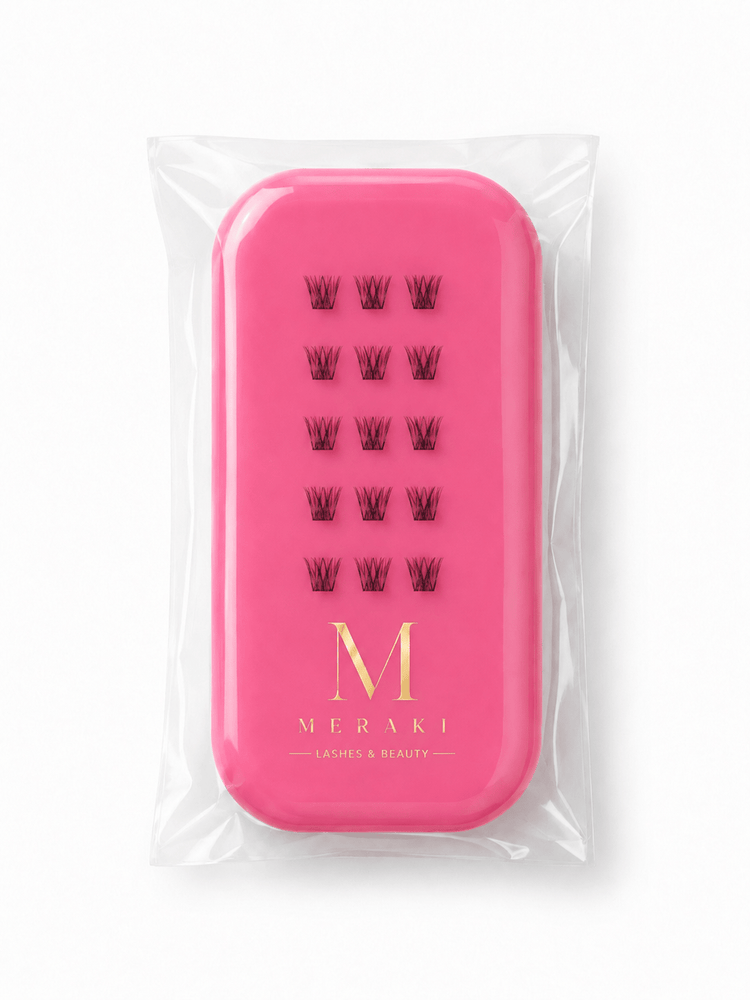
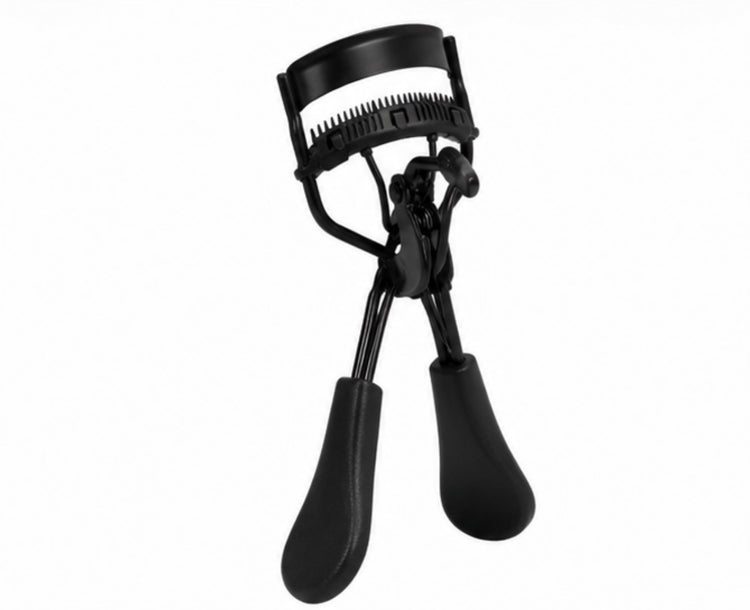
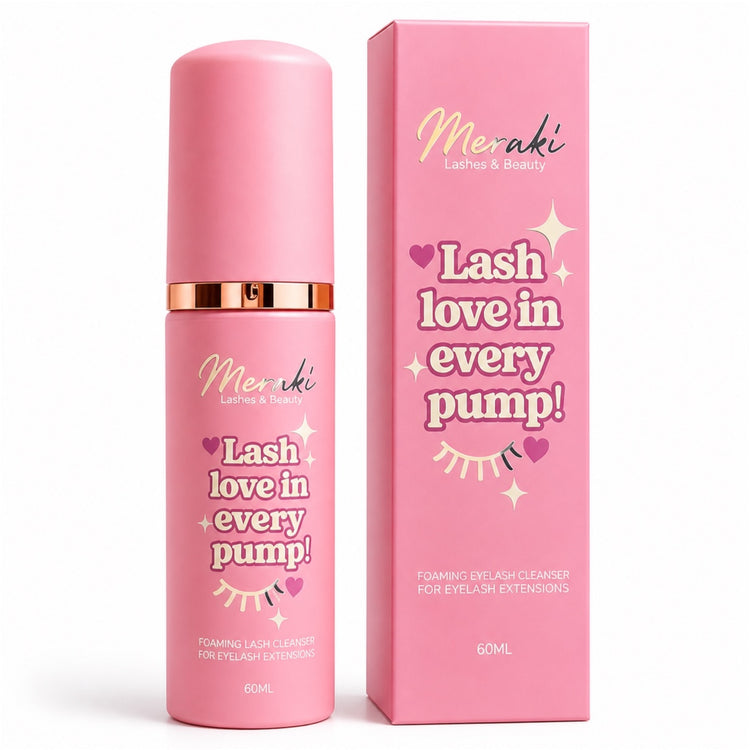
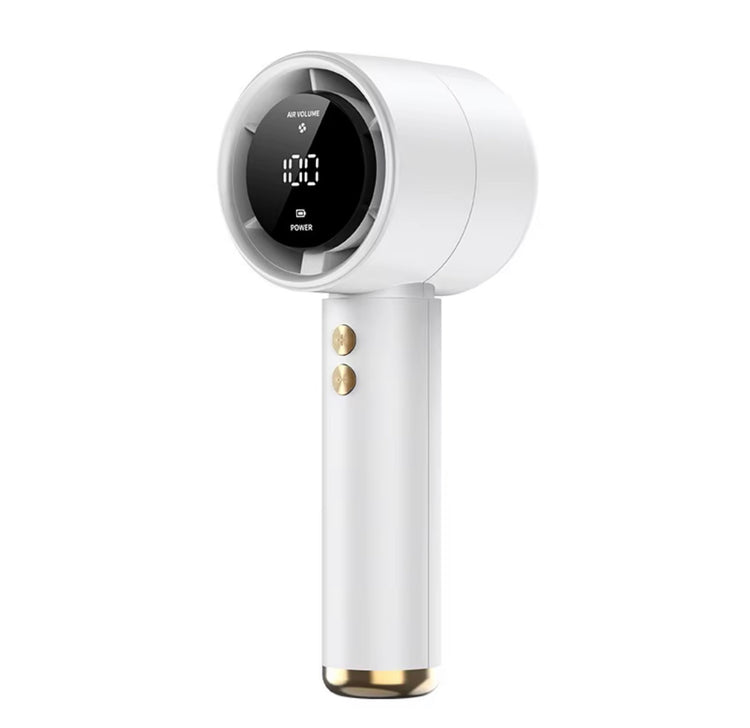
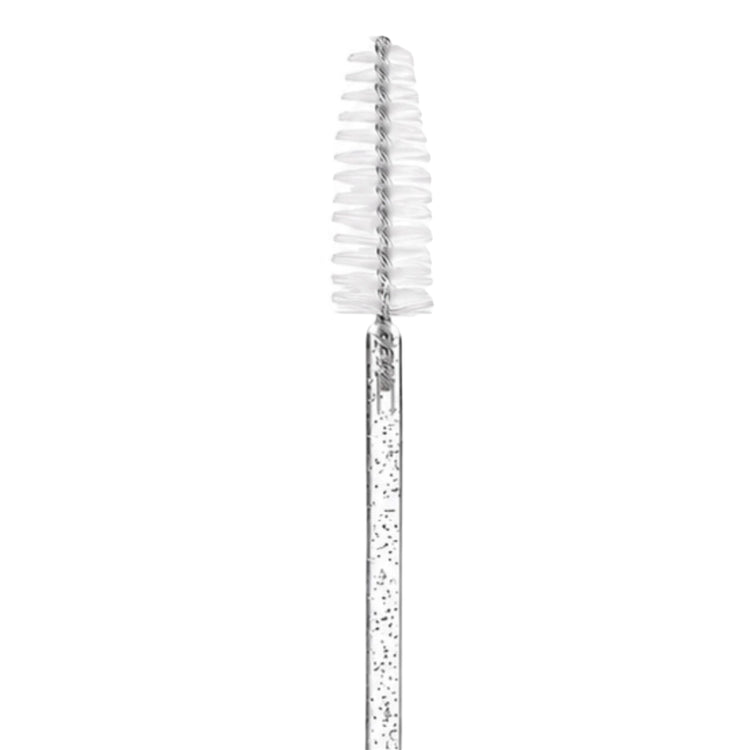
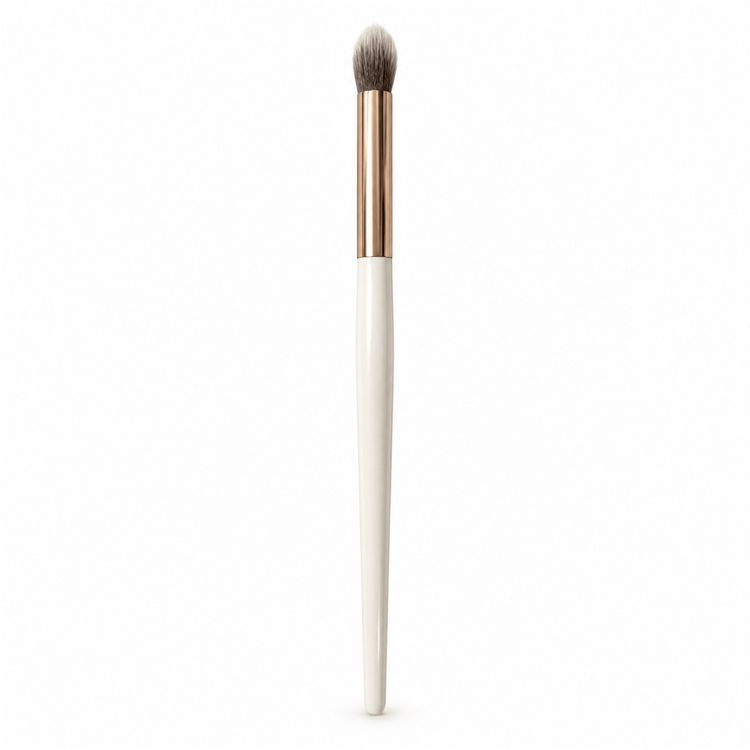
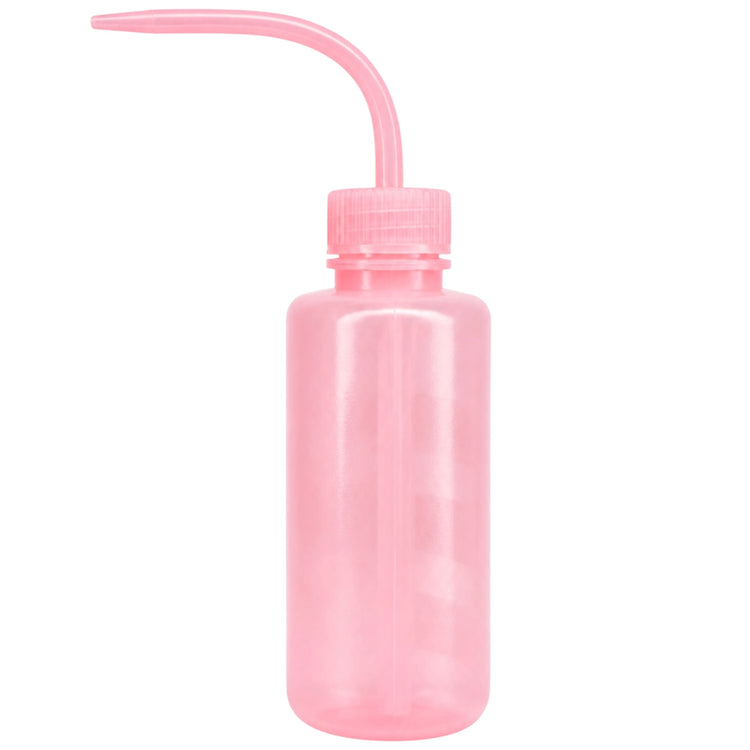
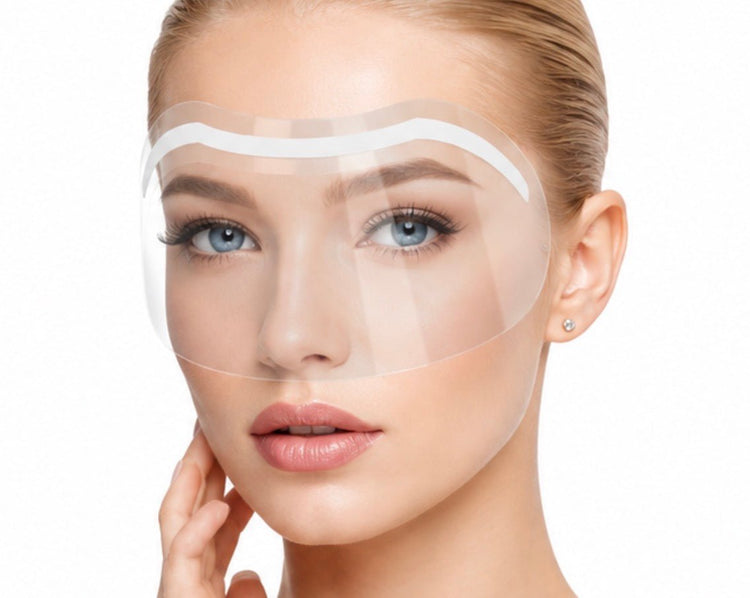 Sold Out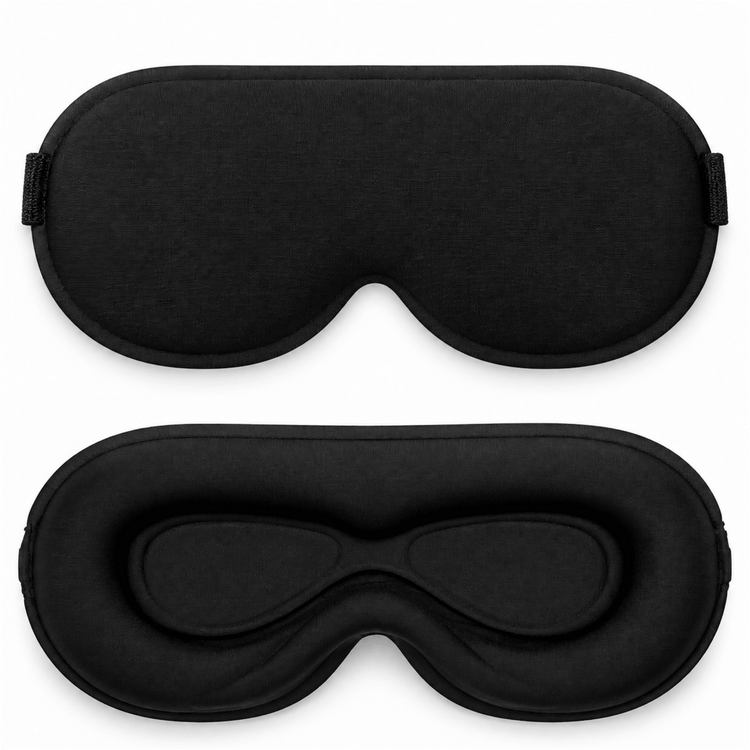


Bond + Seal Or Press On?
Bond + Seal
Choose this for 5+ day wear, more application control and clusters that can be safely cleaned and reused.
Shop Bond + Seal →Press On
Choose this when you want the easiest, fastest DIY option with the adhesive already applied to each cluster.
Shop Press On →
DIY Lashes.
Made For Real Life.
I’ve worked in lashes for more than 15 years. Bond + Seal is for the DIY lash girl who wants more control over her application and longer wear, without giving up the freedom of doing her lashes at home.
Tarsh xx · Founder of MerakiBond + Seal Questions.
How long do Bond + Seal lashes last? +
Where do I apply the Bond? +
Why do I need to let the Bond get tacky? +
Do I clamp my lashes with the applicator? +
Are Bond + Seal clusters reusable? +
What do I need for my first order? +
Where do the clusters go? +
How do I remove them safely? +
Is Bond + Seal beginner friendly? +
Your Lashes. Your Routine.
Choose your lash style, pick your kit size and create your own custom Bond + Seal set at home using the Meraki Method.
Shop Bond + Seal Kits