

Ran Out?
Restock It.
You do not need another whole kit every time.Bond. Seal. Remover. Applicator. Prep and little extras. This is where you replace exactly what you need and keep doing your lashes at home.
The Stuff You’ll Actually Need.
Using Bond + Seal lash trays? These are your core products. If you already own some of them, just replace the one you are running low on.
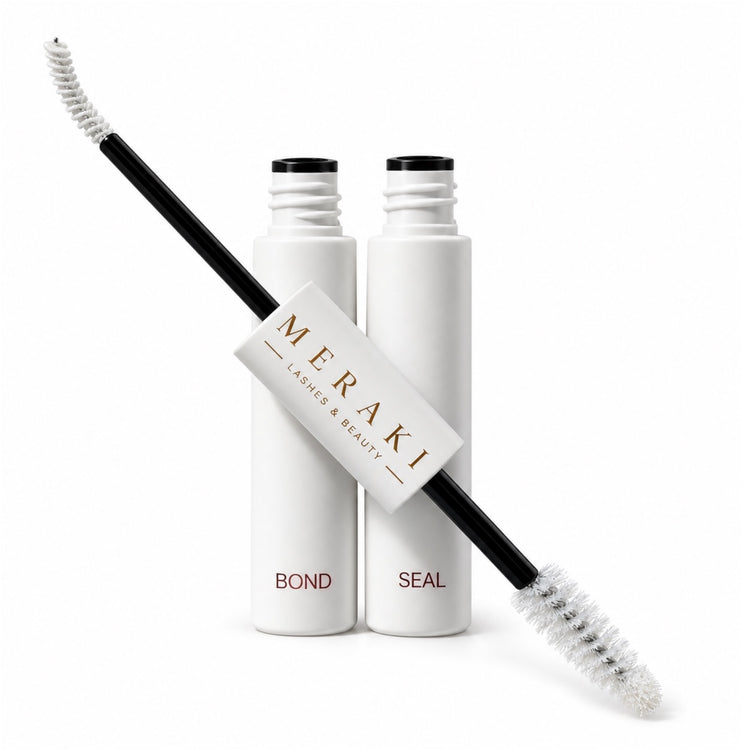
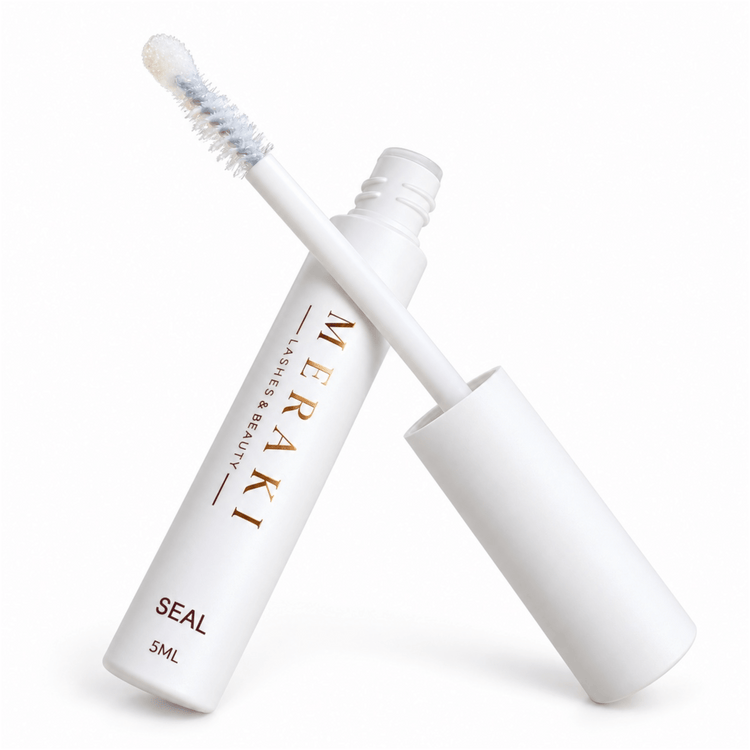
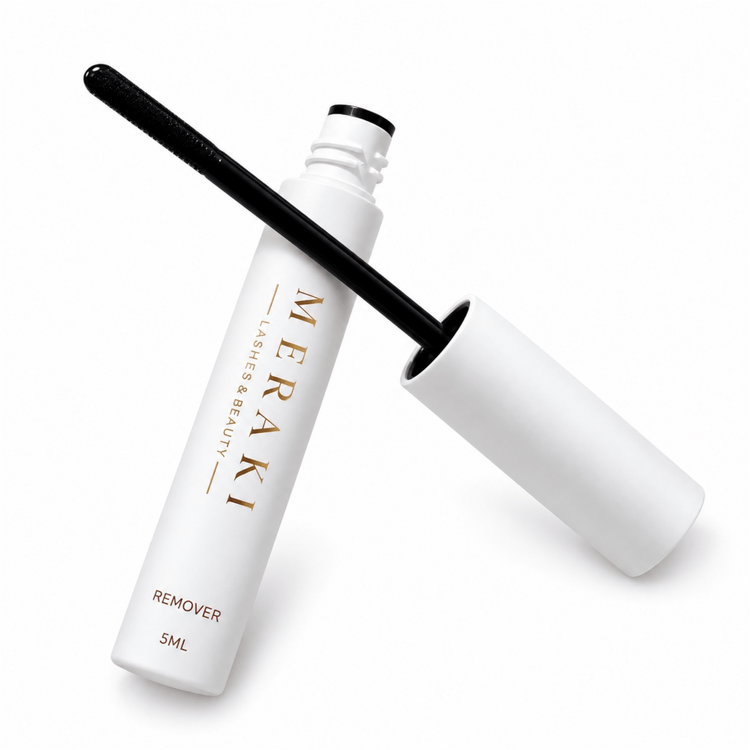
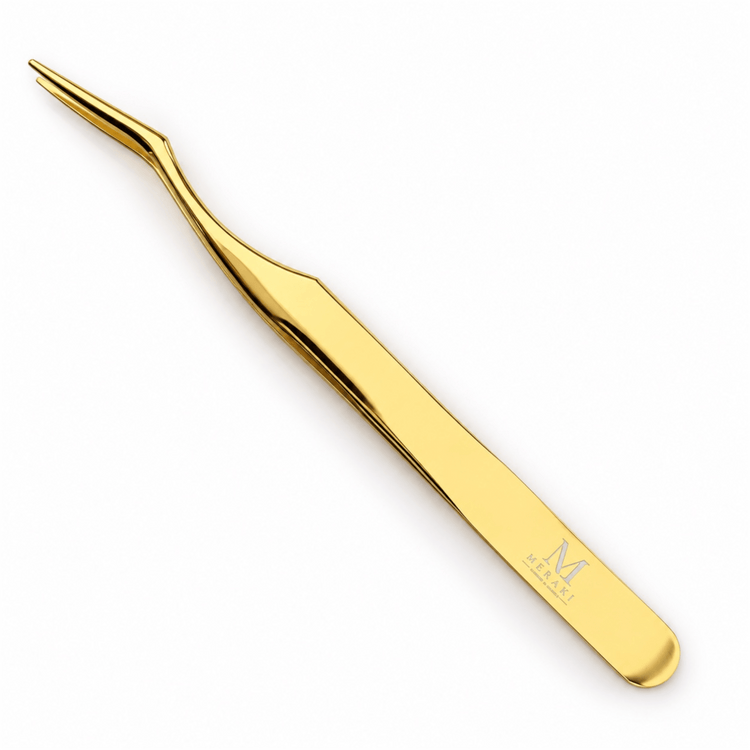
Watch Me Show You.
These are the two products people overthink the most. They are much easier once you actually see them being used.
How I Use Bond
A little goes a long way. Watch how I apply it before placing the lash clusters.
How I Use Sealant
Once the lashes are placed, this is how I finish the set with Sealant.
Press On girl? Your clusters are already preglued, so you do not need Bond or Seal. Keep Remover and your applicator handy.
Make DIY Easier.
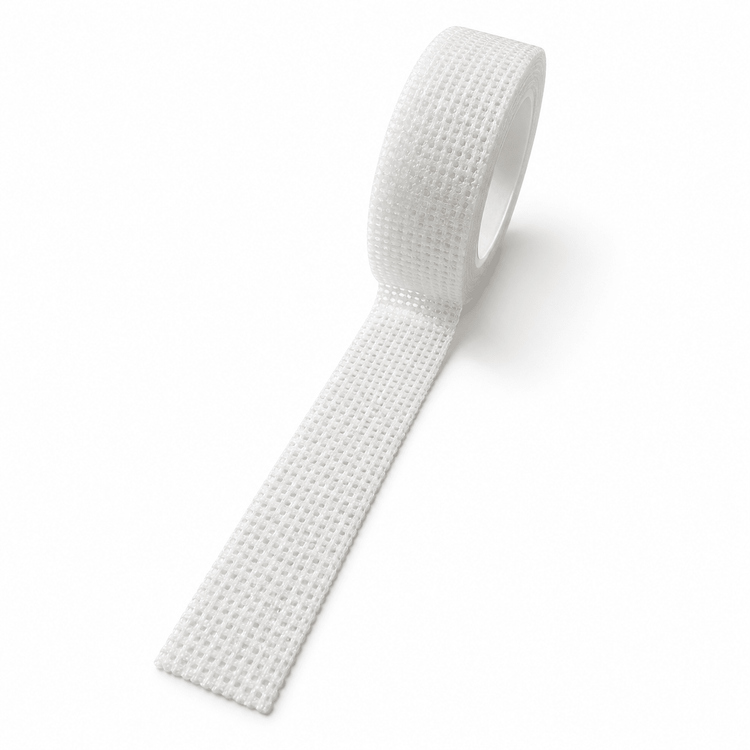
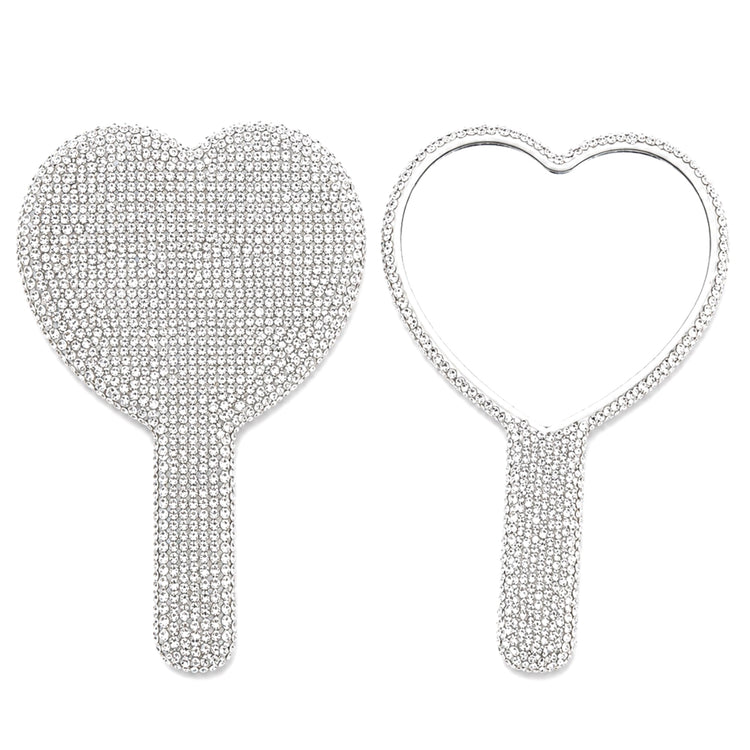
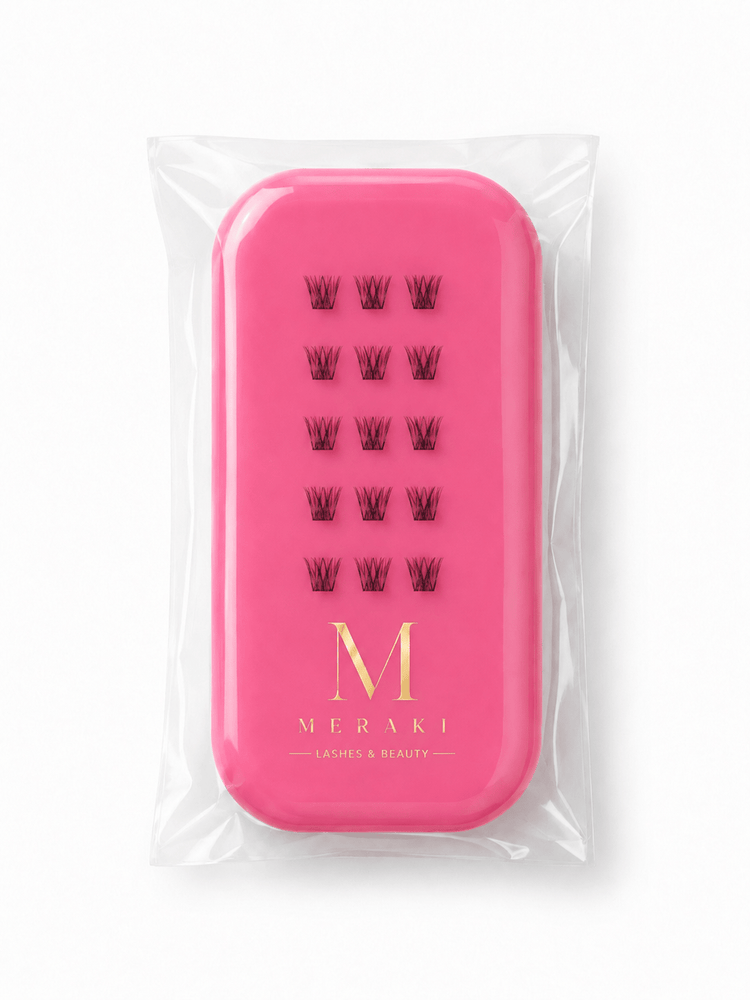
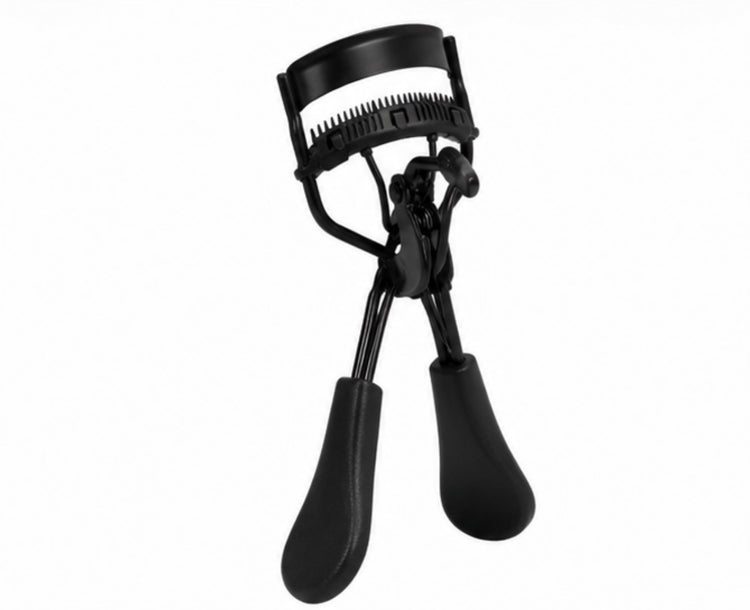
Not all essential, but very handy. Prep your lashes, get a better view and keep your application setup nice and simple.
My Little Tape Hack.
Watch how I use the DIY lash tape. Tiny tool, but it can make getting underneath your lashes so much easier.
Your Routine.
Four Simple Jobs.
If all the little bottles feel confusing, this is literally it.
For Bond + Seal lashes, apply a small amount before placing your clusters.
Use your applicator to position your lash clusters underneath your natural lashes.
Finish your Bond + Seal application with Sealant to help lock everything in.
When you are ready for a fresh set, use Remover. Do not pull bonded clusters off dry.
Buy What You Need.
Not Another Whole Kit.
Once you have your DIY setup, you should not have to rebuy everything just because your Bond ran out first. That would annoy me too 😂. So I keep the liquids and tools available individually. Replace the thing you used. Keep the things you still have. Simple.
If you are completely new and do not own any of this yet, a complete starter kit is usually the easiest place to begin because I have already put everything together for you.
Tools + Liquids Explained.
What do I need for Bond + Seal DIY lashes?+
Do I need Bond and Seal for Press On lashes?+
Why do I need Remover?+
Should I buy the double sided pen or separate Bond and Seal?+
I am completely new. Should I buy these separately?+
Restock Your DIY Lash Routine.
Shop DIY lash Bond, Sealant, Remover, applicator tweezers and at home lash tools from Meraki Lashes and Beauty. Restock individual products for your Bond + Seal lash system or pick up the tools you use with your Press On lashes without replacing your entire kit.
Replace It.
Keep Lashing.
No complicated routine. Just the tools and liquids that keep your DIY setup going.