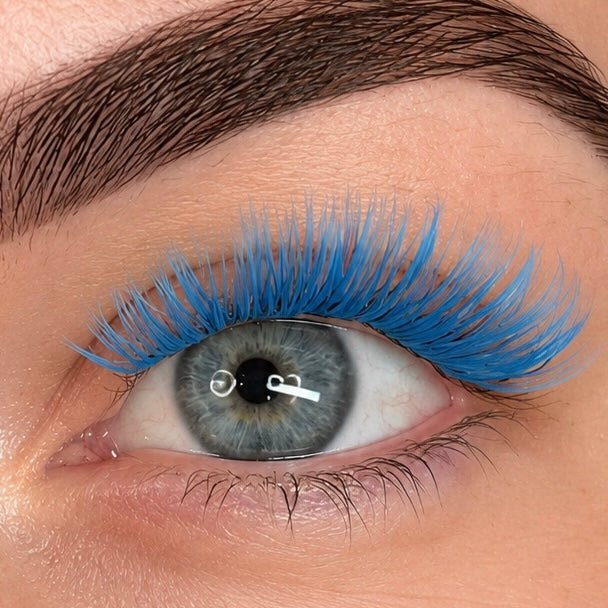
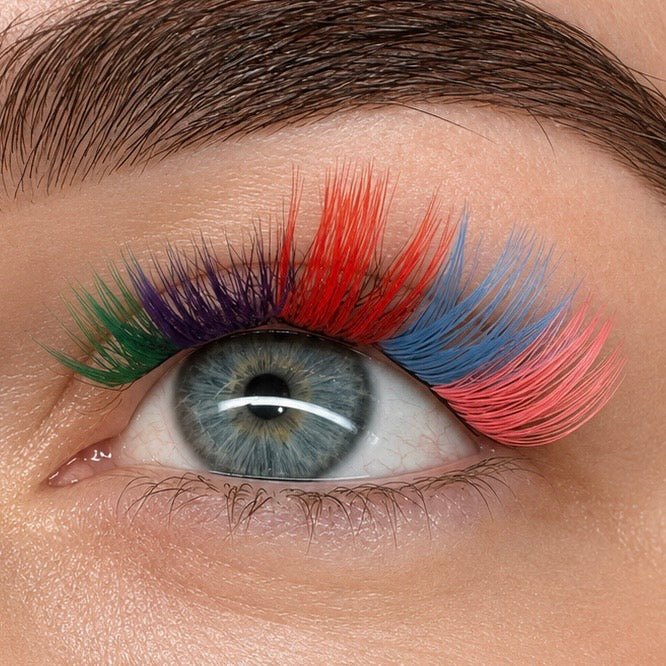
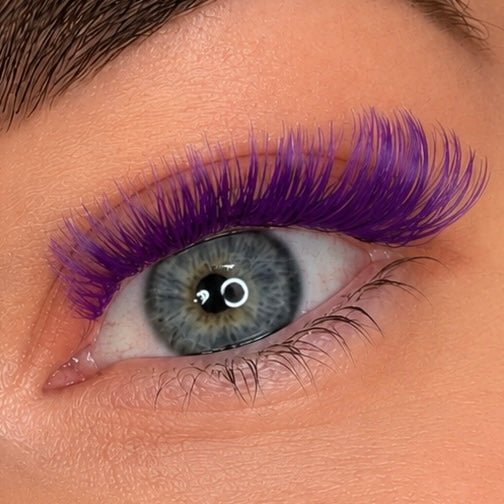
⭐⭐⭐⭐⭐ 5.0/5
The Classic Kit |48 Lash Clusters|Up to 4 Full Sets
Low stock
Couldn't load pickup availability
Want to try DIY lashes without committing to a big kit? Start with Classic.
The Meraki Classic DIY Lash Extension Kit is our smallest complete Bond + Seal kit and the perfect introduction to at-home lash extensions.
With approximately 48 premium DIY lash clusters, plus your lash bond, seal, remover and applicator, you have everything you need to learn the system and create your first salon-look lash sets at home.
Choose Classic if you are completely new to DIY lashes, want to try Meraki before buying a larger kit, or only need enough clusters for a few lash applications.
Why Choose The Classic Kit?
What's Included
- 1 × Meraki Lash Tray with approximately 48 DIY lash clusters
- 1 × Meraki Lash Bond 5ml
- 1 × Meraki Lash Sealant 5ml
- 1 × Meraki DIY Lash Remover 5ml
- 1 × Precision Applicator Tweezer
- 4 × Mascara Spoolies
- 4 × Alcohol Prep Wipes
- 2 × Shower Shields
Up To 4 Full Lash Sets
Using approximately five lash clusters per eye, one complete application uses around ten clusters.
With approximately 48 lash clusters, the Classic Kit can create up to around four complete DIY lash applications, depending on your lash map, preferred fullness and how many clusters you use.
Everything you need to try the Bond + Seal system without starting with a large lash tray.
How Do Bond + Seal DIY Lashes Work?
Bond + Seal gives you control over where your adhesive is applied and how you build your lash map.
- Start with clean, completely dry natural lashes
- Apply a thin amount of Bond near the base area
- Allow the Bond to become tacky as directed
- Place each lash cluster underneath your natural lashes
- Keep the cluster away from your wet waterline and eyelid skin
- Gently fuse the completed lash set
- Finish with Seal as directed
Take your time. Focus on comfortable, clean placement first. Speed comes naturally once you understand your angles, adhesive amount and favourite lash map.
The Biggest Beginner Tip: Use Less Bond
A common beginner mistake is using too much lash bond.
You only need a thin, controlled amount around the area where the clusters will sit. More adhesive does not automatically mean better wear and can make the lashes feel sticky or make removal harder.
Create Your Own Lash Look
Even with a smaller tray, you can customise how your lashes look by changing where different lengths sit across your eye.
- Use shorter lengths for a soft natural look
- Use longer clusters toward the outer corner for a cat-eye effect
- Focus length through the centre for a more open-eye look
- Mix lengths for a wispy lash map
- Change your map when you apply your next set
Why Try DIY Lash Extensions?
- Apply salon-look lashes from home
- No scheduled lash appointments
- No ongoing salon infills
- Change your lash style whenever you reset
- Learn a lash routine you can do on your own schedule
- Potentially reduce ongoing lash costs compared with regular salon maintenance
Removing DIY Lashes Safely
Your Classic Kit includes remover because correct removal is part of the DIY lash system.
Never pick, pull or peel bonded lash clusters from your natural lashes. If the adhesive is still holding, pulling can also pull on the natural lashes underneath.
Apply your DIY Lash Remover as directed, give it time to soften the adhesive and only slide the clusters away once they release easily.
Add more remover and give it more time. Gentle removal protects your natural lashes far better than trying to force a bonded cluster off.
How Long Should I Wear My DIY Lashes?
Wear time varies depending on your application technique, natural lashes, lifestyle and aftercare.
We recommend regularly removing your DIY lash set, cleansing your natural lash line and reapplying rather than continuously leaving the same cluster set attached for several weeks.
Perfect For
- Complete DIY lash beginners
- Customers wanting to try Meraki DIY Lashes
- Anyone wanting a smaller first kit
- Natural everyday lash looks
- Wispy lash styles
- Cat-eye and open-eye lash maps
- Travel and special occasions
- Anyone wanting an alternative to regular salon lash appointments
Classic is the easiest place to start small, learn the Bond + Seal system and discover whether DIY lashes are for you.
Classic DIY Lash Kit FAQs
Is the Classic DIY Lash Kit suitable for complete beginners?
Yes. Classic is specifically suited to first-time DIY lash users who want a smaller complete kit before moving to larger lash quantities.
How many lash sets can I create?
The Classic Kit contains approximately 48 lash clusters and can create up to around four full lash applications depending on your lash map and how many clusters you use per eye.
What is included in the Classic Kit?
The kit includes one tray with approximately 48 lash clusters, Lash Bond, Lash Sealant, DIY Lash Remover, Precision Applicator Tweezer, four mascara spoolies, four alcohol prep wipes and two shower shields.
What is the difference between the Classic Kit and the larger Starter Kit?
Both teach you the Bond + Seal DIY lash system. Classic contains approximately 48 clusters for up to around four applications, while the larger Starter Kit contains approximately 150 clusters for significantly more lash sets and better overall value per application.
Where do the lash clusters go?
Meraki DIY lash clusters are applied underneath your natural lashes. Keep the cluster band away from the wet waterline and avoid pressing it into eyelid skin.
How much Bond should I use?
Use a thin, controlled layer around the base area where your lash clusters will sit. Using too much Bond can make application sticky and removal more difficult.
How long do DIY lashes last?
Wear time varies depending on application technique, natural lashes, lifestyle and aftercare. Regularly remove, cleanse and reapply rather than focusing only on keeping one lash set attached for the longest possible time.
Can I create different lash styles?
Yes. Arrange your cluster lengths differently to create soft natural lashes, wispy maps, cat-eye looks or open-eye styles.
Can I remove DIY lashes myself?
Yes. Use the included DIY Lash Remover as directed and allow the adhesive to soften before gently sliding the clusters away. Never pull or peel bonded lashes off dry.
Can Bond + Seal lash clusters be reused?
Suitable Bond + Seal clusters may be reused if they remain intact and can be properly cleaned after removal. Discard anything damaged, misshapen or unable to be thoroughly cleaned.